> ## Documentation Index
> Fetch the complete documentation index at: https://docs.edicek.com/llms.txt
> Use this file to discover all available pages before exploring further.
# API
Reach your Edicek content from your own code. The GraphQL API gives you programmatic access to everything you can do in the app.
## GraphQL endpoint
The GraphQL server lives at:
```
https://my.edicek.com/api/graphql
```
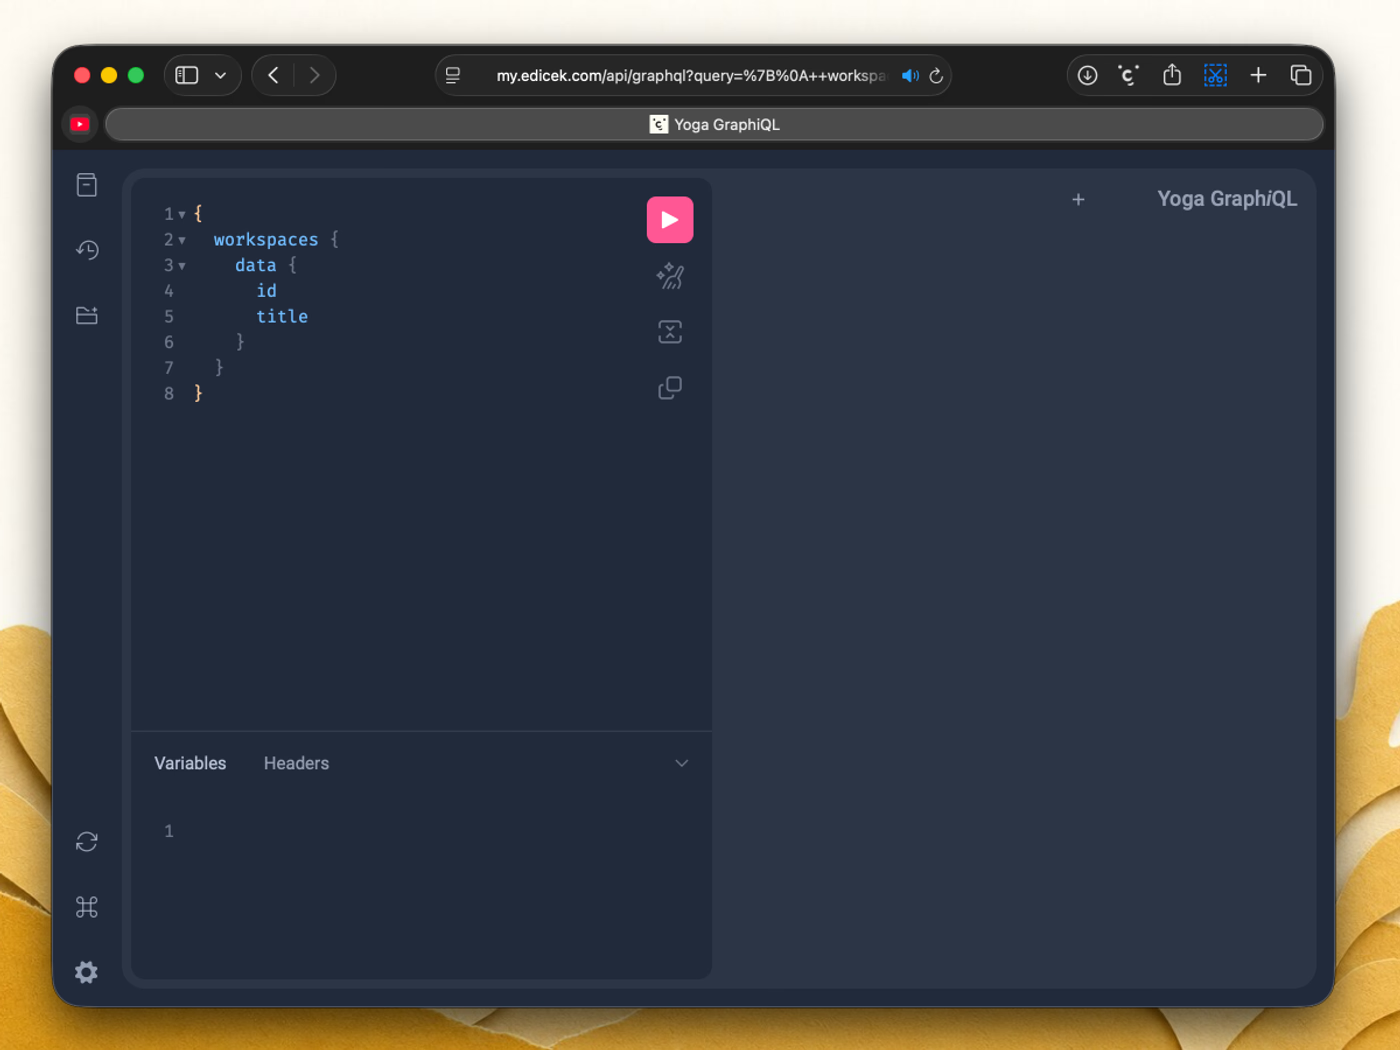
That same endpoint serves a GraphQL Playground. Because the API is fully **introspectable**, we don't keep a hand-written reference of every query, mutation, and field here - the live schema is the source of truth and always matches what the app can do.
Open the Playground to browse the whole schema, see exactly what's available, and test queries interactively before you wire anything up.
 ## Personal access tokens
Requests are authenticated with a Personal access token that you create in the web app.
Personal access tokens can currently be created only in the **web app** at [my.edicek.com](https://my.edicek.com) - not in the mobile or desktop apps.
Click your user icon and choose `Profile` from the menu.
On the Profile page, find the **Personal Access Tokens** section.
Click `Create`, give it a name, and copy the token value.
Keep the token private - it grants the same access to your content that you have. Send it on every request in the `Authorization` header:
```
Authorization: Bearer YOUR_TOKEN_HERE
```
## Scope requests to a workspace
For operations that read or change data inside a specific workspace, include the workspace ID in a `workspace` header:
```
workspace: WORKSPACE_ID
```
You can look up your workspace IDs with this query:
```graphql theme={null}
{
workspaces {
data {
id
title
}
}
}
```
## How workspace data is organized
GraphQL introspection shows you every field, but a quick mental model helps you find your way around. Everything here lives inside a **workspace** - the one your requests target.
* **Cards** are the saved items. A card carries a title, a description, your **note** (the **WHY** you saved it), and a type - and it's built from **blocks**.
* **Blocks** are the content inside a card. Each block has a type - a **bookmark** (a saved link: a generic page, a YouTube or TikTok video, or a tweet), **text**, or an **image**. Today a card holds a single block, and its type matches the card's type. This is where the real content lives: URLs, images, transcripts, snapshots.
* **Chats** are conversations with the AI; a chat holds its messages and links back to the cards it used as sources.
* **Searches** are natural-language queries, each tied to the cards it returned.
* **Files** are the media - images, video, HTML snapshots - that blocks point at.
## Your first request
Here's the whole flow in the Playground, from a token to a list of your cards.
Follow [Personal access tokens](#personal-access-tokens) above to create one, and copy its value.
Open the Playground at the [endpoint](#graphql-endpoint) and, in its **Headers** panel, authenticate every request:
```json theme={null}
{ "Authorization": "Bearer YOUR_TOKEN_HERE" }
```
Run this to list the workspaces your token can reach:
```graphql theme={null}
{
workspaces {
data {
id
title
}
}
}
```
Copy the `id` of the workspace you want, then add a `workspace` header alongside the token:
```json theme={null}
{
"Authorization": "Bearer YOUR_TOKEN_HERE",
"workspace": "WORKSPACE_ID"
}
```
Now fetch the cards in that workspace:
```graphql theme={null}
{
cards {
data {
id
title
note
}
}
}
```
That's a full round trip - authenticated, scoped to a workspace, and reading your own data.
From here, open the [endpoint](#graphql-endpoint) in your browser and explore the Playground: the schema lays out everything you can fetch and change, from your cards to chats and searches.
## Tips
**Explore in the Playground first** - Build and check your queries against the live schema before moving them into code. It's the fastest way to see what fields are available.
**One token per integration** - Create a separate token for each script or tool you connect. If you ever need to revoke one, the others keep working.
## Next steps
Export your cards to Markdown for use with other agents.
Stuck on something with the API? Reach out - we're happy to help.
## Personal access tokens
Requests are authenticated with a Personal access token that you create in the web app.
Personal access tokens can currently be created only in the **web app** at [my.edicek.com](https://my.edicek.com) - not in the mobile or desktop apps.
Click your user icon and choose `Profile` from the menu.
On the Profile page, find the **Personal Access Tokens** section.
Click `Create`, give it a name, and copy the token value.
Keep the token private - it grants the same access to your content that you have. Send it on every request in the `Authorization` header:
```
Authorization: Bearer YOUR_TOKEN_HERE
```
## Scope requests to a workspace
For operations that read or change data inside a specific workspace, include the workspace ID in a `workspace` header:
```
workspace: WORKSPACE_ID
```
You can look up your workspace IDs with this query:
```graphql theme={null}
{
workspaces {
data {
id
title
}
}
}
```
## How workspace data is organized
GraphQL introspection shows you every field, but a quick mental model helps you find your way around. Everything here lives inside a **workspace** - the one your requests target.
* **Cards** are the saved items. A card carries a title, a description, your **note** (the **WHY** you saved it), and a type - and it's built from **blocks**.
* **Blocks** are the content inside a card. Each block has a type - a **bookmark** (a saved link: a generic page, a YouTube or TikTok video, or a tweet), **text**, or an **image**. Today a card holds a single block, and its type matches the card's type. This is where the real content lives: URLs, images, transcripts, snapshots.
* **Chats** are conversations with the AI; a chat holds its messages and links back to the cards it used as sources.
* **Searches** are natural-language queries, each tied to the cards it returned.
* **Files** are the media - images, video, HTML snapshots - that blocks point at.
## Your first request
Here's the whole flow in the Playground, from a token to a list of your cards.
Follow [Personal access tokens](#personal-access-tokens) above to create one, and copy its value.
Open the Playground at the [endpoint](#graphql-endpoint) and, in its **Headers** panel, authenticate every request:
```json theme={null}
{ "Authorization": "Bearer YOUR_TOKEN_HERE" }
```
Run this to list the workspaces your token can reach:
```graphql theme={null}
{
workspaces {
data {
id
title
}
}
}
```
Copy the `id` of the workspace you want, then add a `workspace` header alongside the token:
```json theme={null}
{
"Authorization": "Bearer YOUR_TOKEN_HERE",
"workspace": "WORKSPACE_ID"
}
```
Now fetch the cards in that workspace:
```graphql theme={null}
{
cards {
data {
id
title
note
}
}
}
```
That's a full round trip - authenticated, scoped to a workspace, and reading your own data.
From here, open the [endpoint](#graphql-endpoint) in your browser and explore the Playground: the schema lays out everything you can fetch and change, from your cards to chats and searches.
## Tips
**Explore in the Playground first** - Build and check your queries against the live schema before moving them into code. It's the fastest way to see what fields are available.
**One token per integration** - Create a separate token for each script or tool you connect. If you ever need to revoke one, the others keep working.
## Next steps
Export your cards to Markdown for use with other agents.
Stuck on something with the API? Reach out - we're happy to help.